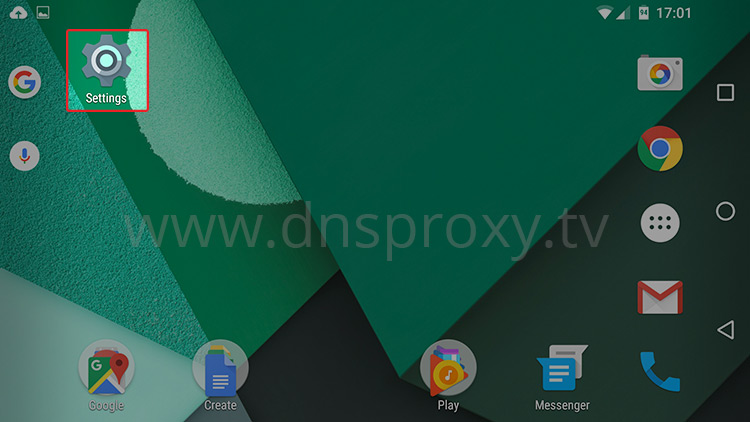
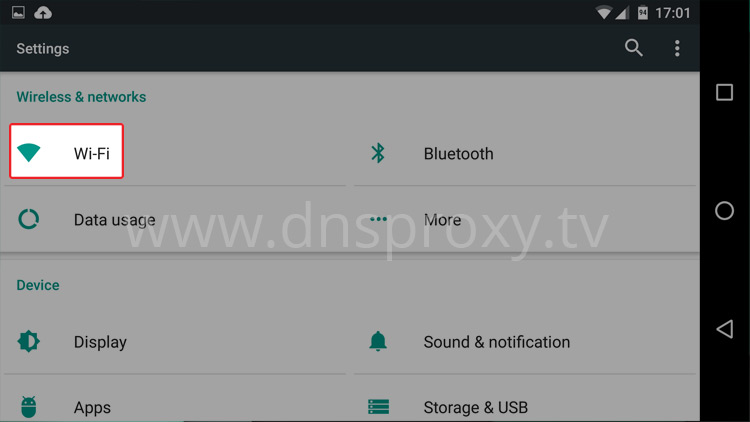
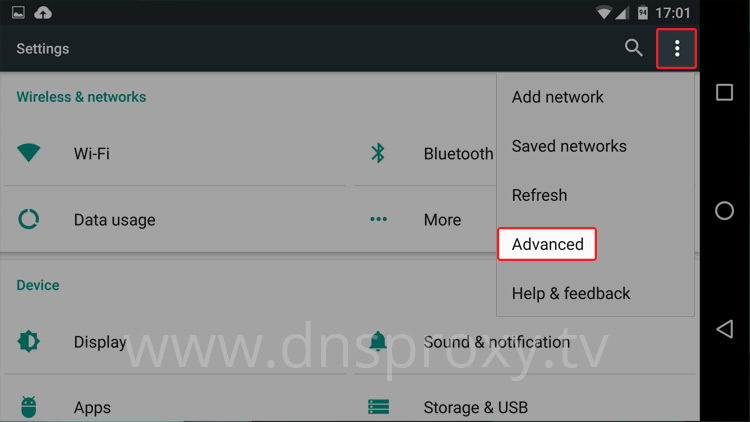
DNS Configuration for Android
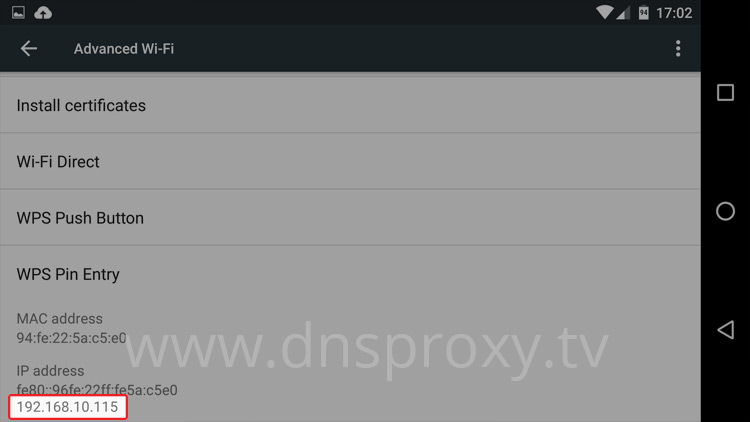
Please write down the IP address displayed on your device screen. You will need it later.
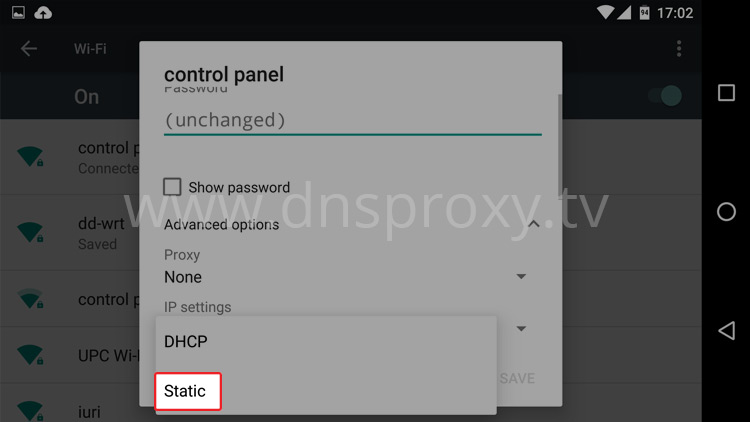
Choose the option Modify network config.
Then change the IP settings field to Static.
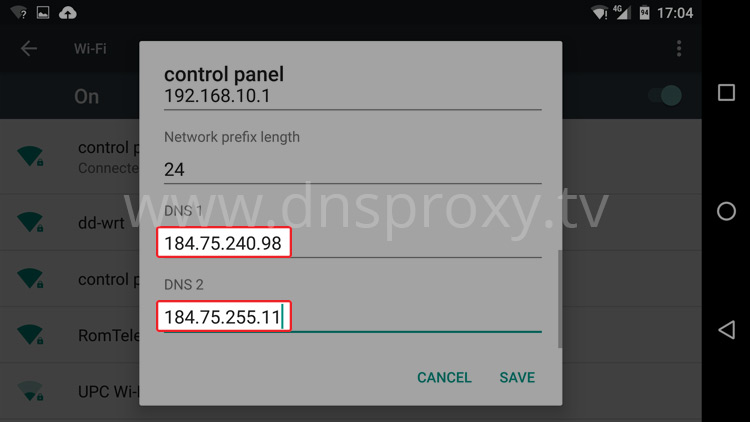
In the field IP Address: type the IP address which you found at step 4.
In the field Gateway: type first three groups of numbers from your IP Address, then change the last grouop to .1
E.g: The Gateway Address is usually: 192.168.1.1 or 192.168.0.1
In the field DNS 1 enter: 184.75.240.98
In the field DNS 2 enter: 184.75.255.11
Hint: Please choose from our DNS Server List the closest server to your current location.
http://www.dnsproxy.tv/update
Hint: If the apps you need are not available on your Android device or in the Play Store, please check our guides on how to get US Apps on your device.